If you’ve only ever worked with Google AdSense, Google Ad Manager can throw you off. On the surface it looks like more of the same, but the setup works differently — and that’s usually where people get stuck, right at the very beginning.
So let’s slow it down. Below is the whole process, start to finish, in plain language: creating the account, getting the basics configured, and reaching the point where you actually have control over your ad inventory instead of just handing it all to AdSense.
First, a quick checklist
Before you create anything, it helps to have a few things lined up:
- An active Google AdSense account. In most cases this is still the gatekeeper — no approved AdSense, no full Ad Manager account.
- A website or app you own, with real, original content on it.
- A Google account that’s already linked to that AdSense account.
- A rough idea of where you actually want ads to show up on your site.
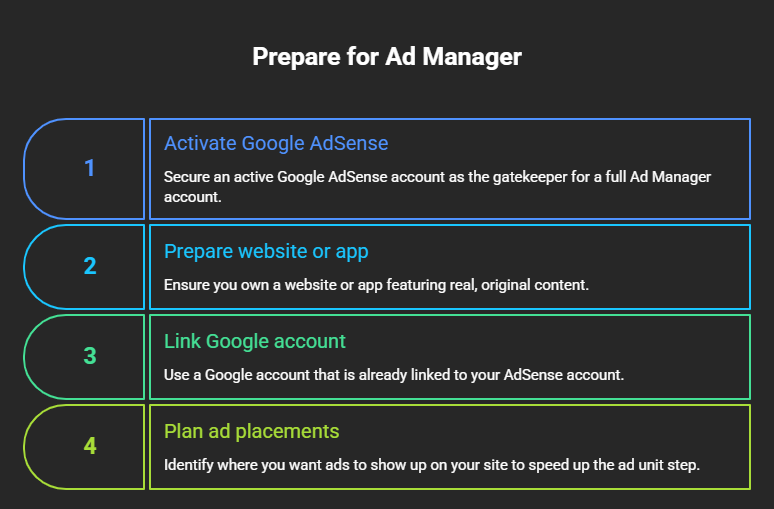
That last one sounds minor, but knowing your placements ahead of time makes the ad unit step much faster later on.
Step 1: Head to Google Ad Manager
Go to admanager.google.com and click Sign up (or Create account).
The one thing to get right here: sign in with the same Google account that’s tied to your AdSense. Using a different email is a classic early mistake, and it’s a hassle to untangle afterward.
Step 2: Fill in your account details
Google’s going to ask for the usual basics — whether you’re setting up as an individual or a business, your name or company name, your address, and your country or billing territory.
Take a second to make sure everything matches your payment and identity documents exactly. It feels tedious, but a mismatch here is one of the things that quietly delays approval or causes payment headaches down the road.
Step 3: Accept the terms
Standard stuff. You’ll need to read and agree to the Google Ad Manager Terms and Conditions, plus any parent publisher terms if they apply to you. Once that’s done, hit Set up account (or Continue) and move on.
Step 4: Set your time zone and currency (don’t rush this one)
This is the step I’d tell you to actually pause on.
You’ll pick your time zone and currency here. The catch: once you create your first order, these lock in and become a real pain to change. So double-check them before you save — not after. It only takes a moment now, and it saves you a support-ticket-shaped problem later.
Step 5: Verify, if Google asks
Depending on your situation, Google may want you to verify your phone number, confirm your identity, or verify your address — the address check especially tends to show up once your earnings hit a certain point.
If any of these requests pop up, just handle them quickly. Leaving them sitting is one of the easiest ways to stall your account activation.
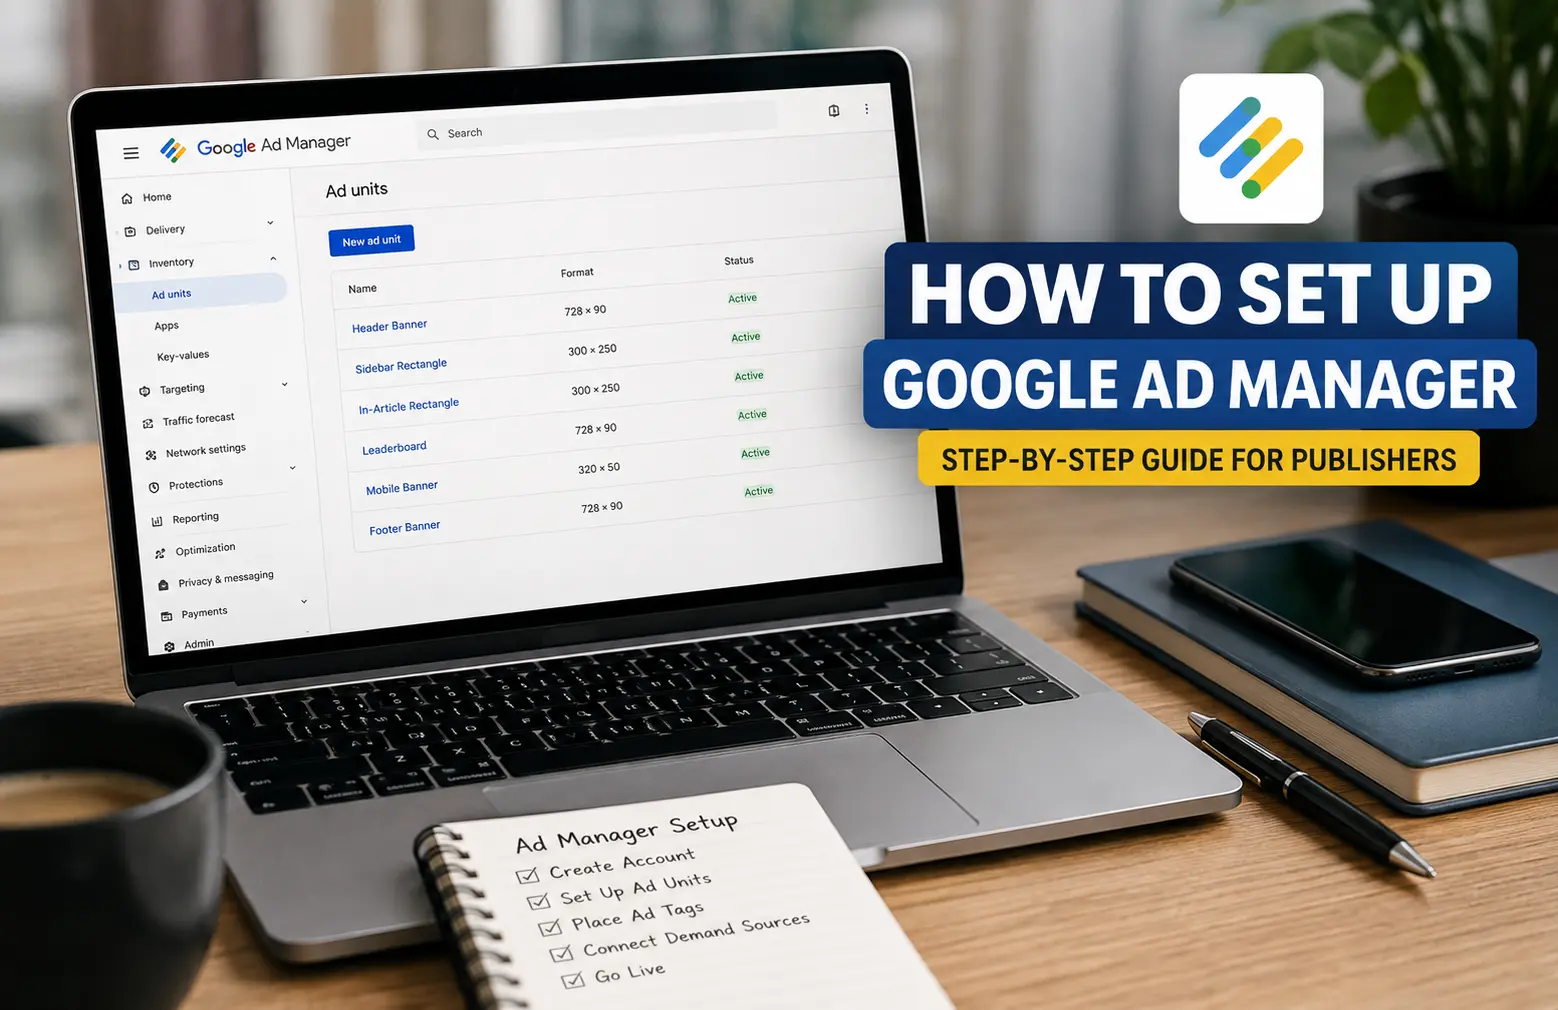
Step 6: Create your ad units
Once the account’s live, this is where it starts to feel real. Ad units are simply the spots on your site where ads will appear.
To make one:
- Go to Inventory → Ad units
- Click New ad unit
- Give it a name that actually tells you what it is — something like
Homepage_Sidebar_300x250 - Choose the sizes you want it to support
- Save it
Then repeat for each position you care about: header, sidebar, in-article, footer, and so on. Clear names matter more than you’d think — a few months from now, “Ad unit 3” won’t mean anything to you, but Article_InContent_728x90 will.
Step 7: Generate and place your ad tags
After you create an ad unit, Google hands you an ad tag — usually a Google Publisher Tag (GPT). This bit of code is what actually pulls the ads onto your page, so it needs to go in the right spot.
If you’re on WordPress, you’ve got a few ways to add it:
- Directly in your theme files
- Through a plugin like Header Footer Code Manager or Ad Inserter
- Via Google Tag Manager
Whichever route you take, placement is everything. A tag dropped in the wrong place either won’t load ads or will load them somewhere ugly.
Step 8: Connect your demand sources
Here’s where Ad Manager earns its keep. Instead of relying on a single income stream, you can plug in several demand sources and let them compete for your inventory:
- Google AdSense
- Google Ad Exchange (if you’re eligible)
- Third-party ad networks
- Direct deals you strike with advertisers yourself
Managing all of that from one dashboard is the real reason to move beyond plain AdSense. It’s the difference between selling your ad space and just… renting it out on autopilot.
The whole thing at a glance
| Step | What you’re doing | Watch out for |
|---|---|---|
| 1 | Create the account | Use your AdSense-linked Google login |
| 2 | Enter your details | Must match your payment info |
| 3 | Accept the terms | Required to move forward |
| 4 | Set time zone & currency | Nearly permanent once set |
| 5 | Complete verification | Needed for payouts |
| 6 | Create ad units | Defines where ads appear |
| 7 | Place ad tags | Ads won’t show without them |
| 8 | Connect demand sources | AdSense plus everything else |
Mistakes that trip people up
A few things I’d steer you away from:
- Picking the wrong time zone or currency and only noticing after your first order (see Step 4 — I wasn’t kidding).
- Naming ad units something vague you’ll never recognize later.
- Sticking ad tags in the wrong place on the page.
- Skimming past Google’s policy requirements.
- Trying to spin up multiple Ad Manager accounts under different emails. Don’t — it causes far more problems than it solves.
FAQ
Do I actually need AdSense to use Ad Manager? In most cases, yes. An active AdSense account is still typically required before you can create an Ad Manager account.
How long does approval take? Anywhere from a few days to a couple of weeks, depending on where you land in Google’s review queue. There’s no fixed timeline, so try not to obsess over it.
Can I change the time zone or currency later? Once you’ve created your first order, those settings are effectively permanent. Choose carefully the first time.
Is Google Ad Manager free? The standard version (what used to be called Ad Manager Small Business) is free for most publishers.
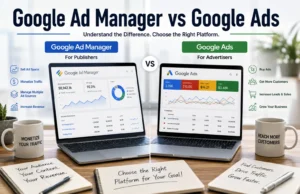
What’s the difference between Ad Manager and Google Ads? Short version: Google Ads is for advertisers buying traffic. Ad Manager is for publishers selling ad space. Two sides of the same marketplace.
Wrapping up
Getting Ad Manager set up correctly from day one saves you a surprising amount of grief later. Slow down on the account details, the network settings, and how you structure your ad units — that early care pays off every single day afterward. Once it’s dialed in, you’ve got far more control over your inventory than AdSense alone could ever give you.
And if you’d rather have someone handle the Google Ads campaigns, ad strategy, or the broader digital marketing side of things, that’s where Holinex comes in. We work with businesses on Google Ads, SEO, and performance marketing — so if any of this feels like more than you want to take on solo, reach out and we’ll help you sort it.
About the Author:

This blog is written by Holinex Digital, a leading full-service digital and creative marketing agency specializing in result-driven, data-driven strategies for online growth. With expertise in digital marketing, Holinex helps businesses achieve measurable success through practical and innovative digital marketing solutions. Holinex always believes in making a meaningful community that is open-minded to help each other to grow up together. so, please follow & Keep in touch with Holinex Digital.
Please see our Reviews on Google or TechBehmoth to know what the client says about holinex Digital